 By Owen Mercer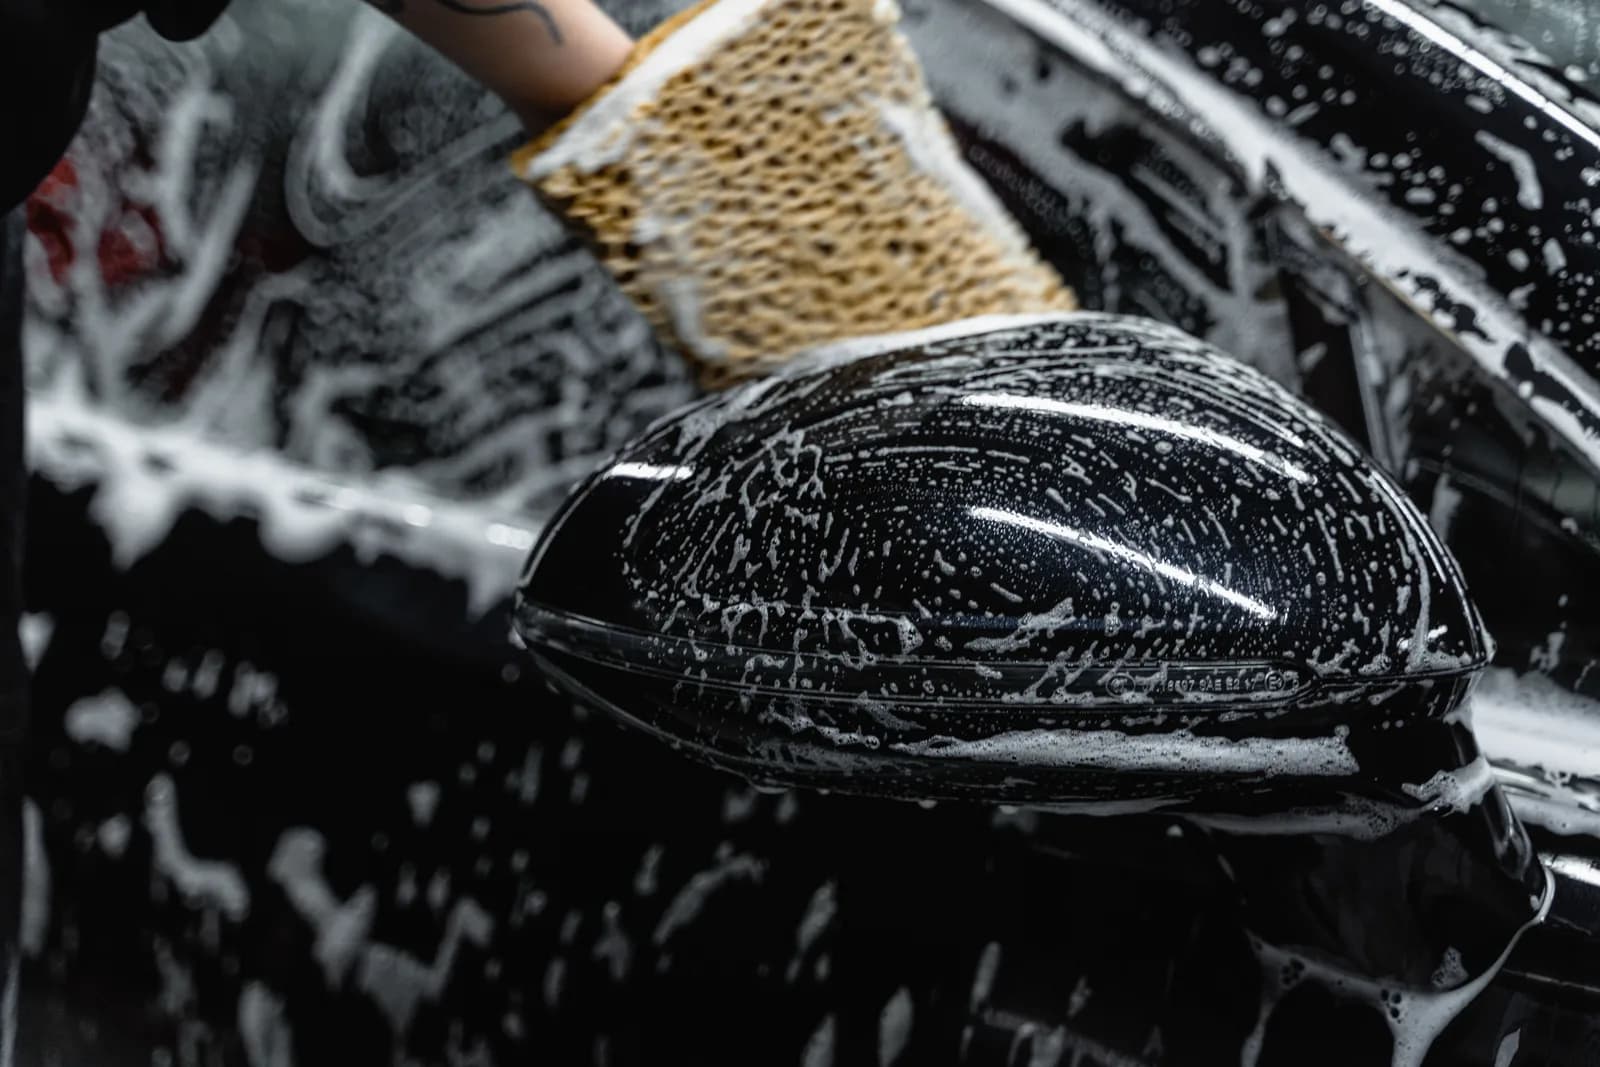
Before you begin
Park in shade and let the paint, wheels, and brakes cool. Check the vehicle care guide and each product label. Wear the gloves, eye protection, and other protection they require.
Look for peeling paint, loose trim, matte paint, wraps, and film. Ask when any film or coating was installed. Follow the maker’s wash limits and waiting period. Stop if you cannot confirm a safe method for a surface.
Decide where the dirty water will go before you start. Ask the local water or stormwater office what is allowed at that address. Home-wash advice does not give permission to release water from a paid job. Use a wash site with approved water collection if you cannot manage it where you are.
1. Set out your tools
- Wash solution, rinse water, and a hose or other suitable water supply.
- Clean wash mitts or pads for paint, with separate ones for lower panels.
- Wheel cleaner and brushes used only for wheels and tires.
- Clean drying towels, glass towels, and a container for used towels.
Use the mix stated on your bottle. Do not dilute a ready-to-use product unless its maker allows it. The dilution calculator works out amounts after you choose the label’s ratio.
2. Clean one wheel at a time
Use a cleaner approved for that wheel finish. Rinse, apply it as directed, and loosen dirt with your wheel tools. Keep to the label’s dwell time: the time the cleaner stays on the surface. Rinse before it dries.
Keep wheel brushes and towels off paint. Brake dust and grit can remain in them.
3. Rinse before touching the paint
Rinse loose dirt from the roof down. Check lower panels, wheel arches, seams, and the rear of the car. Follow your washer’s nozzle and distance rules. Keep high pressure away from loose trim and film edges.
If you use foam or a pre-wash cleaner, follow its label and rinse as directed. Foam alone does not show that the car is clean.
4. Wash in small sections
Start with the upper panels. Keep the wash mitt wet with wash solution. Use light passes. Rinse it or switch to a clean one often. Use separate wash tools for the lower, dirtier panels.
Remove a mitt or towel from use if it picks up grit or falls on the ground. Clean and inspect it before it touches paint again.
5. Rinse and dry
Rinse away all soap, including around mirrors, handles, and badges. Dry with clean towels made for paint. Use light pressure. Replace a towel when it is too wet or dirty to do the job.
Check the care rules for any installed coating. Letting water dry by itself can leave mineral spots.
6. Inspect and put tools away
Check glass, wheels, lower panels, and seams from two light angles. Remove missed residue and drips. Keep tire dressing off the tire tread and brakes.
Wash towels by task and type. Follow their care labels. The Rag Company advises no fabric softener or dryer sheets, and low heat or air drying. Let tools dry before storage. Keep clean towels covered.
If a spot remains, identify it before using a stronger cleaner or rubbing harder.
Do this next
Build your wash checklist and use it on the next wash. If clean paint still has stuck-on deposits, read the guide to removing stuck-on dirt.
Sources
- XPEL: care instructions — Care differs by film and coating. Checked September 11, 2026.
- The Rag Company: towel care — Washing, drying, and storage. Checked September 11, 2026.
- EPA: home car washing — Ways to reduce dirty wash water. Checked September 11, 2026.

About Owen Mercer
Owen brings nine years of detailing experience to guides on equipment, pricing, and starting a business.
Meet Owen and read his guides