 By Owen Mercer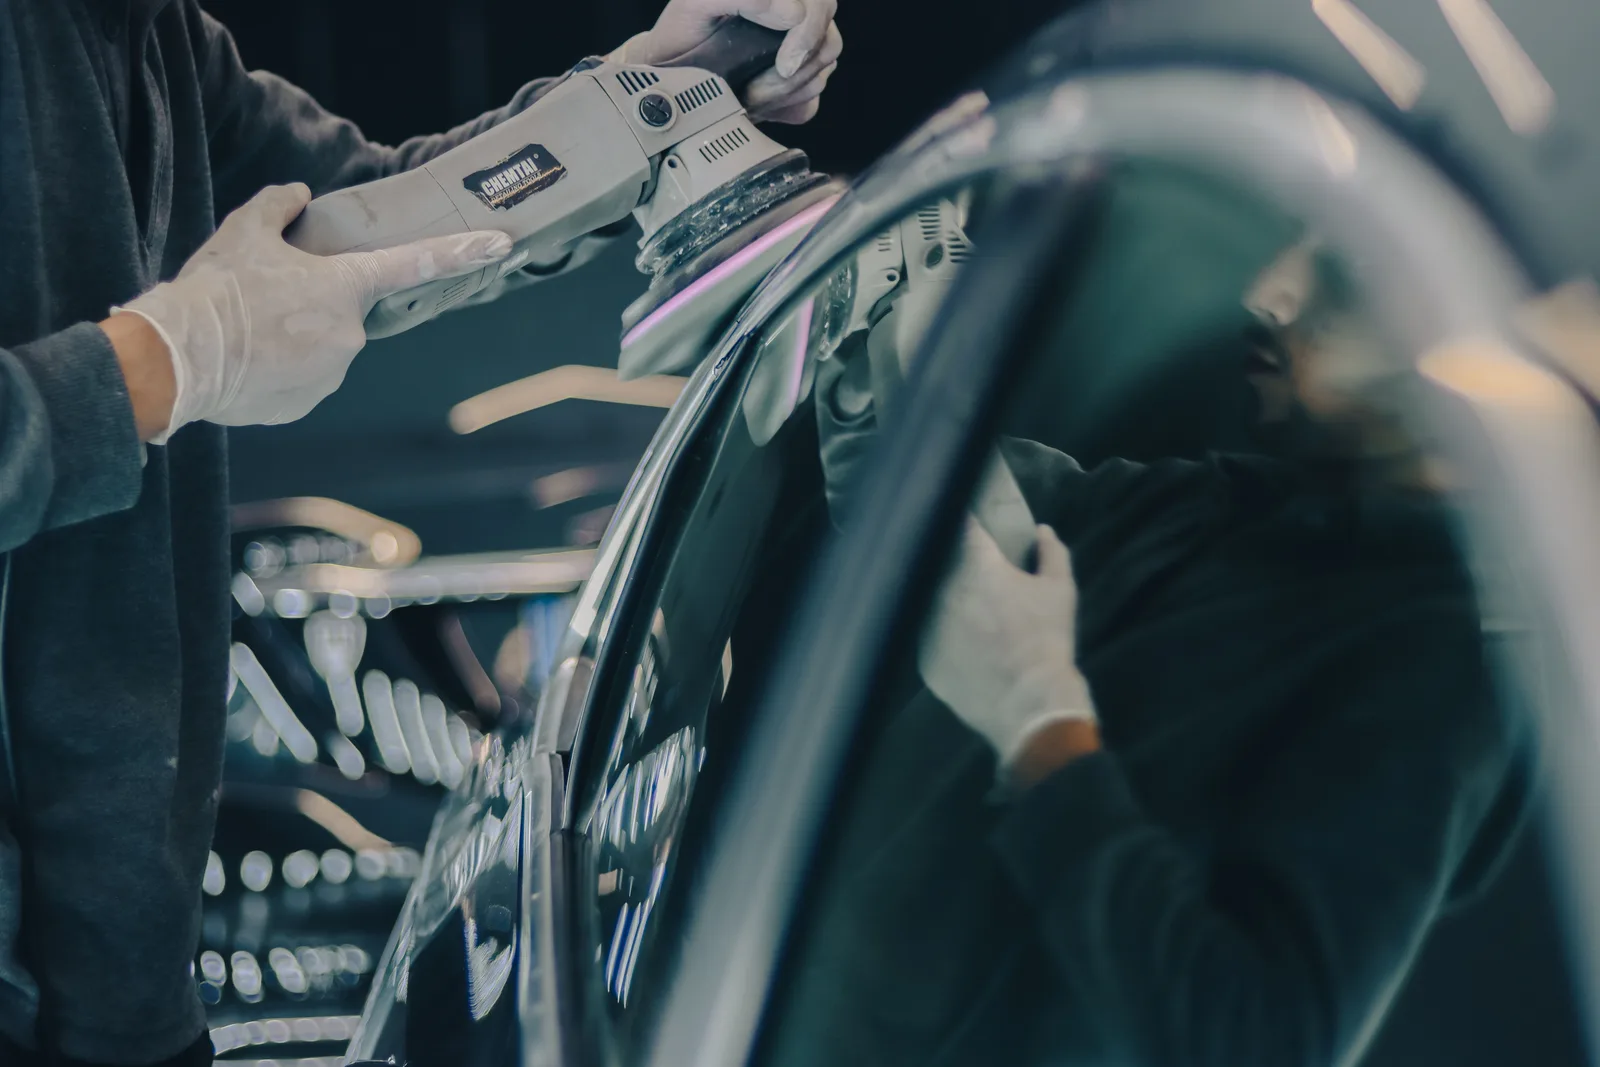
Know the limits first
A one-step polish uses one pad-and-polish process to improve the finish. It may need several passes. It does not mean one pass, and it does not mean every scratch will go.
Polish contains abrasives: particles that remove surface material. On many cars, that material is clear coat, the clear layer over the color. Once removed, it does not grow back. Polishing cannot repair peeling clear coat, chips, cracks, or missing paint.
Do not use this paint-polishing process on matte paint, wraps, or film. Those finishes need their own approved methods. Ask a trained specialist about thin paint, an unknown repaint, or a damaged finish.
Prepare before touching a car
- Get training and practice on a spare panel first.
- Read the manual for your machine, including how to start, stop, and change pads.
- Check the backing plate, pads, cord, and machine for damage.
- Have enough clean pads, suitable polish, towels, masking tape, and good lighting.
- Read the product label and safety data sheet. Use the required eye, hearing, and breathing protection.
Work with the airflow and dust controls the manual requires. Keep the cord, loose clothing, and hands clear of the moving pad. Wait for the pad to stop before setting the tool down. Disconnect power before changing parts, as the manual directs.
For paid work, confirm insurance for the service and agree on the job in writing. Use the first paid detail guide for the inspection and handover steps.
Wash and inspect
Wash the car. Remove stuck-on deposits where needed before the pad touches the paint. Dry and inspect it under several light angles.
Look at edges, body lines, chips, trim, and repaired areas. Record anything you cannot explain. A paint gauge can add information, but a basic reading does not show how much clear coat is safe to remove. Get help with measurements you cannot interpret.
Test one small area
- Choose an area that reflects the condition of the panel.
- Start with a mild pad and polish suited to that paint.
- Prepare the pad and use the machine as its maker directs.
- Complete a small test section within the polish’s working instructions.
- Remove residue with a clean towel. Use a panel cleaner only if the finish allows it.
- Inspect the result from several light angles.
A test spot means this small trial before treating the whole panel. Record the pad, polish, passes, and result. Do not increase the cut just to remove one deep scratch. “Cut” means the amount of material the process removes.
Stop if the paint or tool changes
Stop for unexpected color on the pad, fast heat buildup, lifting paint, swelling, or a sticky surface you cannot control. Stop for a damaged pad, unusual vibration, or a response you do not understand.
Leaving a defect can be the correct choice. Do not make repeated passes when you cannot justify further paint removal.
Work in sections and inspect again
Use the tested method in small sections. Protect nearby trim and edges as needed. Follow the pad maker’s cleaning method and change pads before they become too dirty, wet, or hot. Recheck each area as you go.
Remove dust and residue from seams and trim. Follow the chosen paint protection product’s preparation steps. Record the result and any defects left in place.
This guide does not set a universal speed, pressure, pass count, or paint-thickness limit. Those depend on the paint, machine, and products. A written guide cannot replace supervised practice.
Do this next
For paid work, calculate a price for the inspected job. Include preparation, polishing, cleanup, and protection. Put the agreed result and exclusions in the quote.
Sources
- Griot’s Garage: G9 operating manual — Tool safety, test areas, and pad care. Use your own machine’s manual. Checked September 11, 2026.
- Griot’s Garage: surface preparation — Remove deposits before polishing. Checked September 11, 2026.
- XPEL: film and coating care — Follow the rules for the installed finish. Checked September 11, 2026.

About Owen Mercer
Owen brings nine years of detailing experience to guides on equipment, pricing, and starting a business.
Meet Owen and read his guides